Installation Guide
How to Install the Screedex® Floor Screed System
Follow this step-by-step guide to build a floor screed that is accurate, compliant, and faster to install.
Featured collection
Mix and match your Screedex® platforms to build the perfect slope-to-drain.
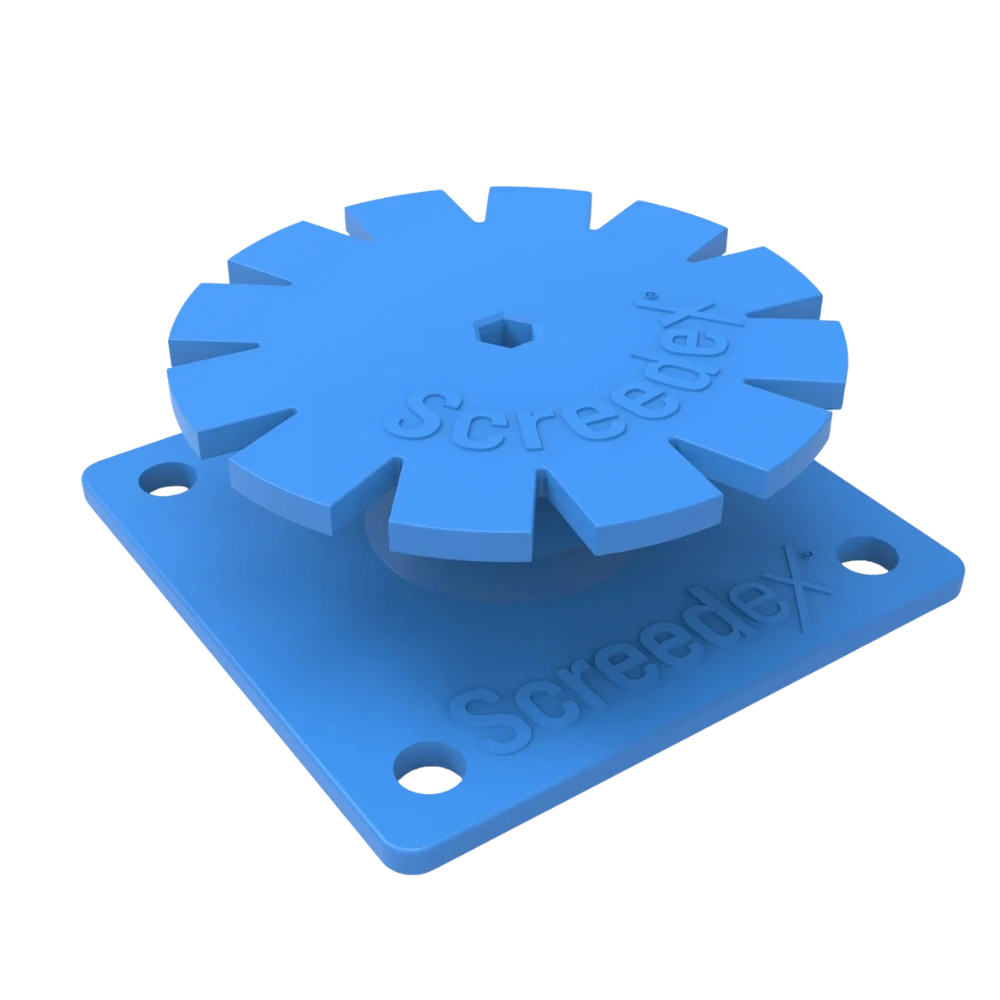
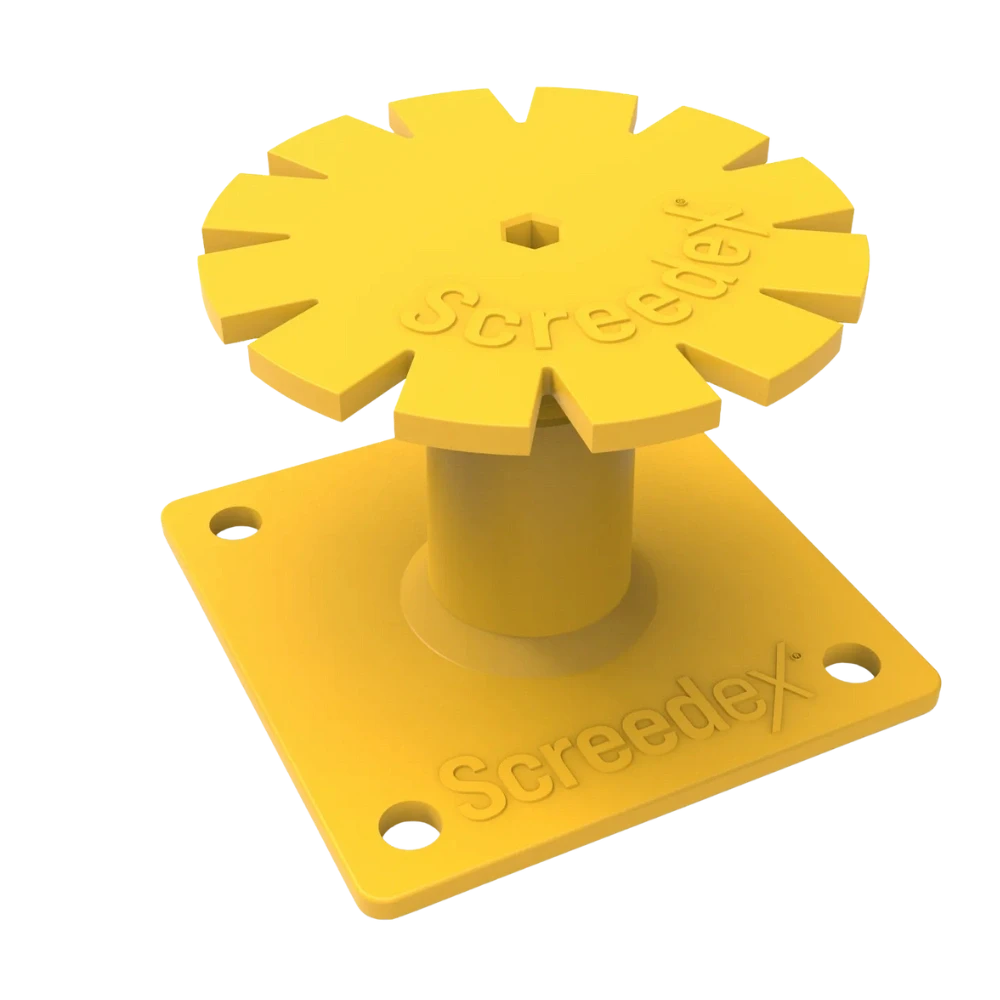
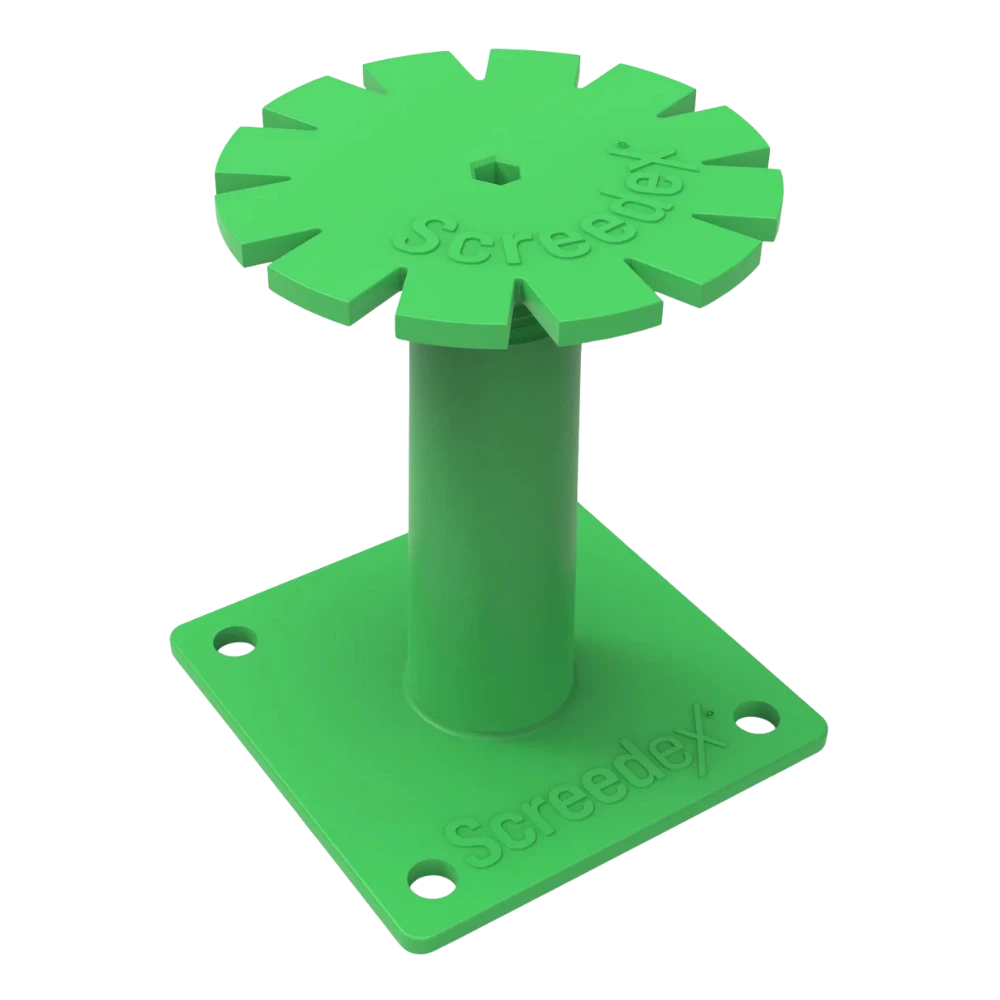
Floor Screed System (65-125mm)
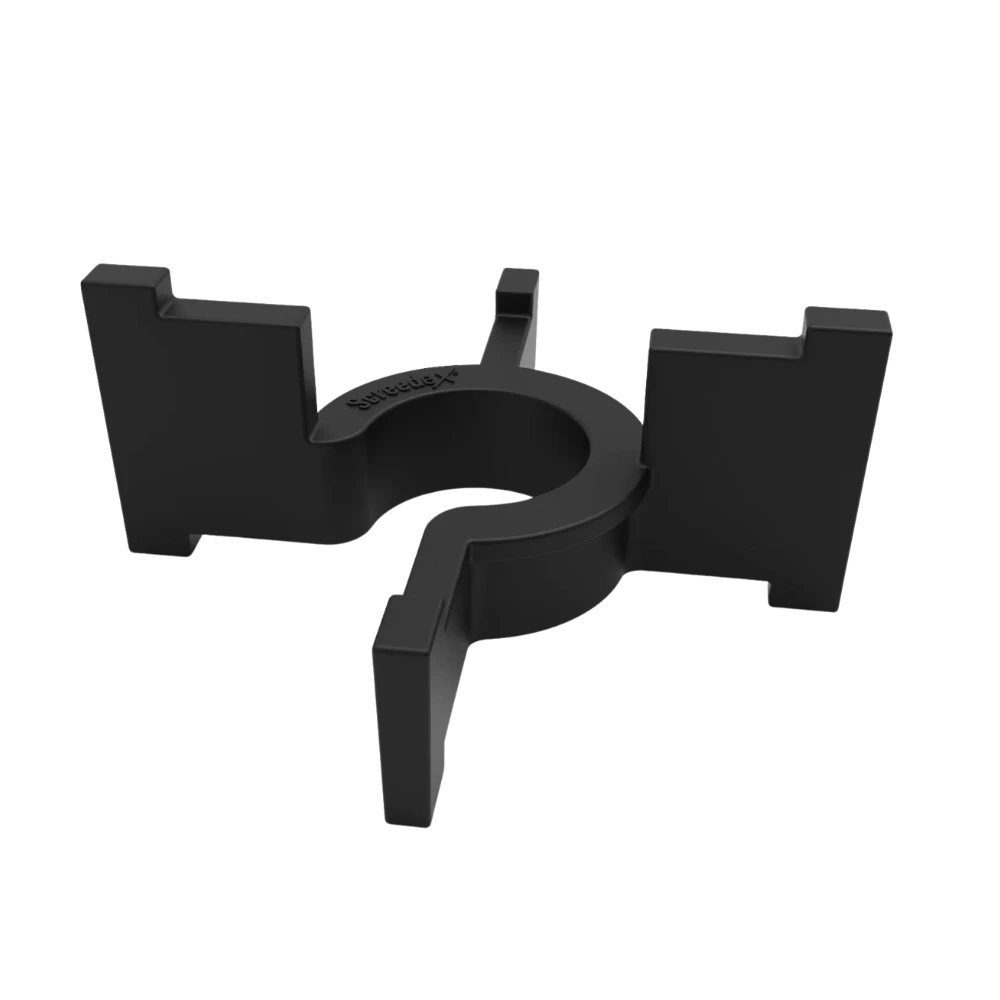
Floor Screed Reinforcement Support
Follow These Installation Steps

Step 1 — Subfloor Preparation
Ensure the subfloor is clean, dry, and free of dust or debris. A smooth, solid surface is essential for strong screed adhesion and long-term floor performance.

Step 2 — Position Platforms
Place Screedex® platforms around perimeter edges, corners, and floor drains (e.g. strip drains or wastes). Keep spacing under 4ft to provide consistent support.

Step 3 — Secure with Adhesive
Apply adhesive to the base of each platform. Press firmly until adhesive seeps through the holes. Allow time to cure.
⚠️ Always follow local codes.

Step 4 — Set Your Screed Heights
Manually adjust the platform heights, or use a drill with a hex bit, to create fall from the high point to the drain. Example: a 1:80 fall equals a 50mm drop over 4m.

Step 5 — Option 1: Check Falls Using a Spirit Level
Place a level across platform tops to verify fall direction.

Step 5 — Option 2
Check Falls with a String Line
Run a taut string line between platforms to visually confirm fall direction.
Pro-Tip: A laser level also helps you quickly confirm your reference heights are correct, so you can install your screed with confidence.
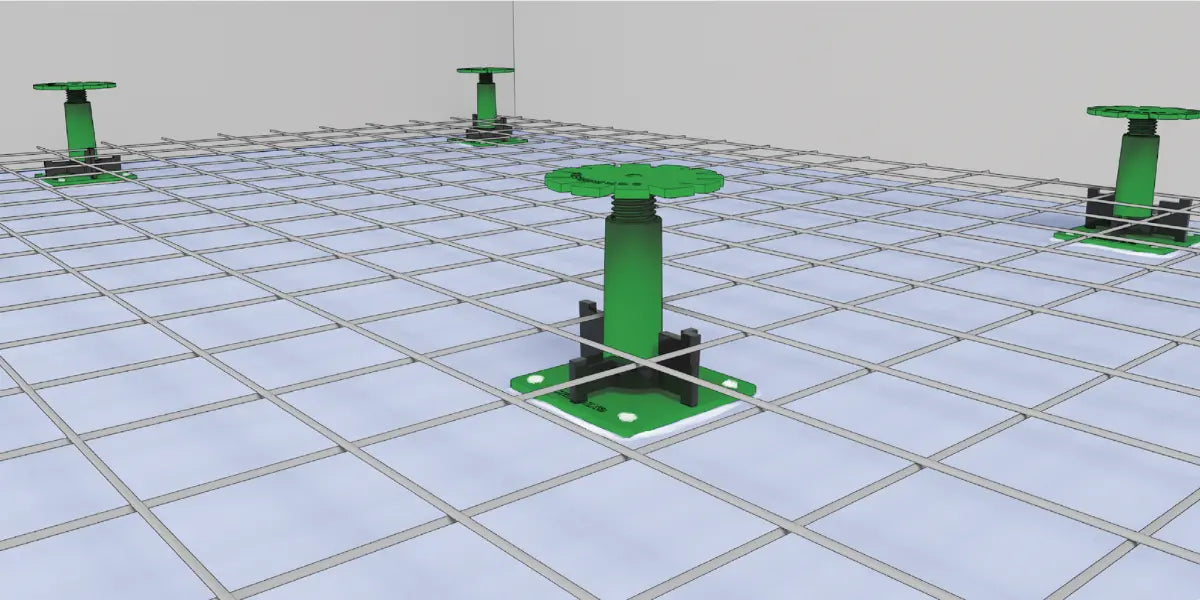
Step 6 — Add Reinforcement
For reinforced floor screeds, clip reinforcement holders onto platforms. This elevates wire mesh above the subfloor for structural strength in reinforced floor screeds.

Step 7 — Install Floor Screed
Trowel sand and cement screed mix or engineered screed firmly around platforms. Use the platform tops as screeding guides. Leave platforms embedded to maintain fall accuracy and long-term stability.
FAQs
Does Screedex® help installers meet Australian building codes?
Yes. It supports:
- Australian Standards (AS 3958.1) for tile installations
- Australian standards for screed-to-falls compliance in wet areas
How does Screedex® prevent water ponding?
By ensuring consistent, fall-accurate prep, Screedex® eliminates the cause of ponding from improper drainage.
Ideal for:
- Shower bases & bathroom floors
- Rooftop terraces
- Balconies & pool surrounds
- Commercial wet areas
What tools do I need?
Just the basics:
- Adhesive (see below)
- Spirit level, string line, or laser level
- Optional: Drill with hex bit for faster height adjustments
What adhesive should I use?
Use one of the following for a secure bond:
- Moisture-curing polyurethane sealant
- Cement-based tile adhesive
- Moisture-resistant double-sided tape
Do I remove Screedex® after screeding?
No. Screedex® is a permanent part of the floor screed. Removing it compromises the slope and structural reliability.
Product Disclaimer
This guide is for general installation support. Always follow relevant local building codes and industry standards. Screedex® is not liable for misuse, improper installation, or outcomes beyond our control.